Using Jekyll: Step 0
The very start of learning Jekyll along with a few struggles.
March 27, 2016Over the past year I have been hearing about Jekyll as a simple solution for creating static content for a websites/blogs without having to worry about a database. I think today is the day I actually do something about this and get something up and running.
Step -1
As I do with most things I dive right in (sometimes reading docs first) and issuesd the command gem install jekyll. Unfortunately this did not work as intended and I was presented with this error message.
...You don't have write permissions for the /Library/Ruby/Gems/2.0.0 directory. ...
This error sent me down the path of RVM (ruby version manager) in an attempt to get ruby installed without having to resort to sudo everything (bad news bears). After learning this was the system installation of ruby (and shouldn't be touched unless you know what you are doing and I don't...yet...) I then went down the path of rbenv which allowed you to handle various ruby installations which seemed to work however anytime I ran ruby -v it would continue to use the system ruby install. I was about to give up and use sudo but then remembered about homebrew. I ran the commandbrew install ruby and it did its magic. Now when I run ruby -v it reported version 2.3.0 which was just installed by brew. Yes! We are not using the system version of ruby anymore and we should be able to install gems without resorting to sudo
Step 0
Ok back to the steps from the Jekyll website.
gem install jekyllintall the gemjekyll m1bytescreates the base strucutrecd m1bytesnavigate to the new directoryjekyll serveserves the app on port 4000

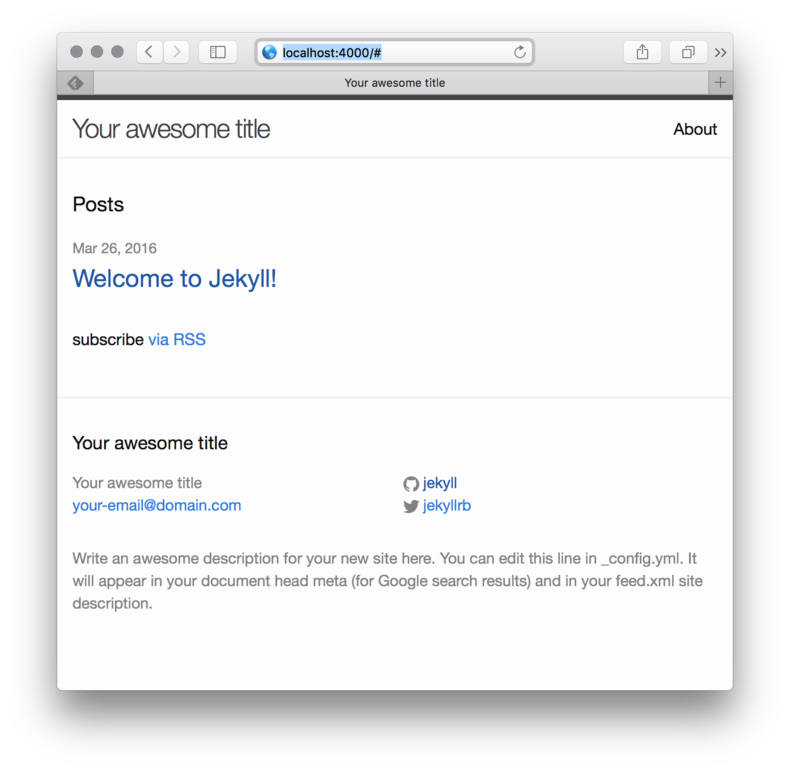
We have Jekyll installed, created a simple site, and have it serving successfully. This was a simple process however my struggle was not with Jekyll itself but with my environment. Next up I need to learn how to apply a template.
Cover image credit: http://facebook.com/RodrigoMoraesPhotography
